Form management
The system enables form customization in major workflows to adapt to various business needs. You have full freedom to customize data input, form logic, and form layout to align with your unique business requirements.
Form types
Navigate to "Form management / Form types" to discover all customizable forms.
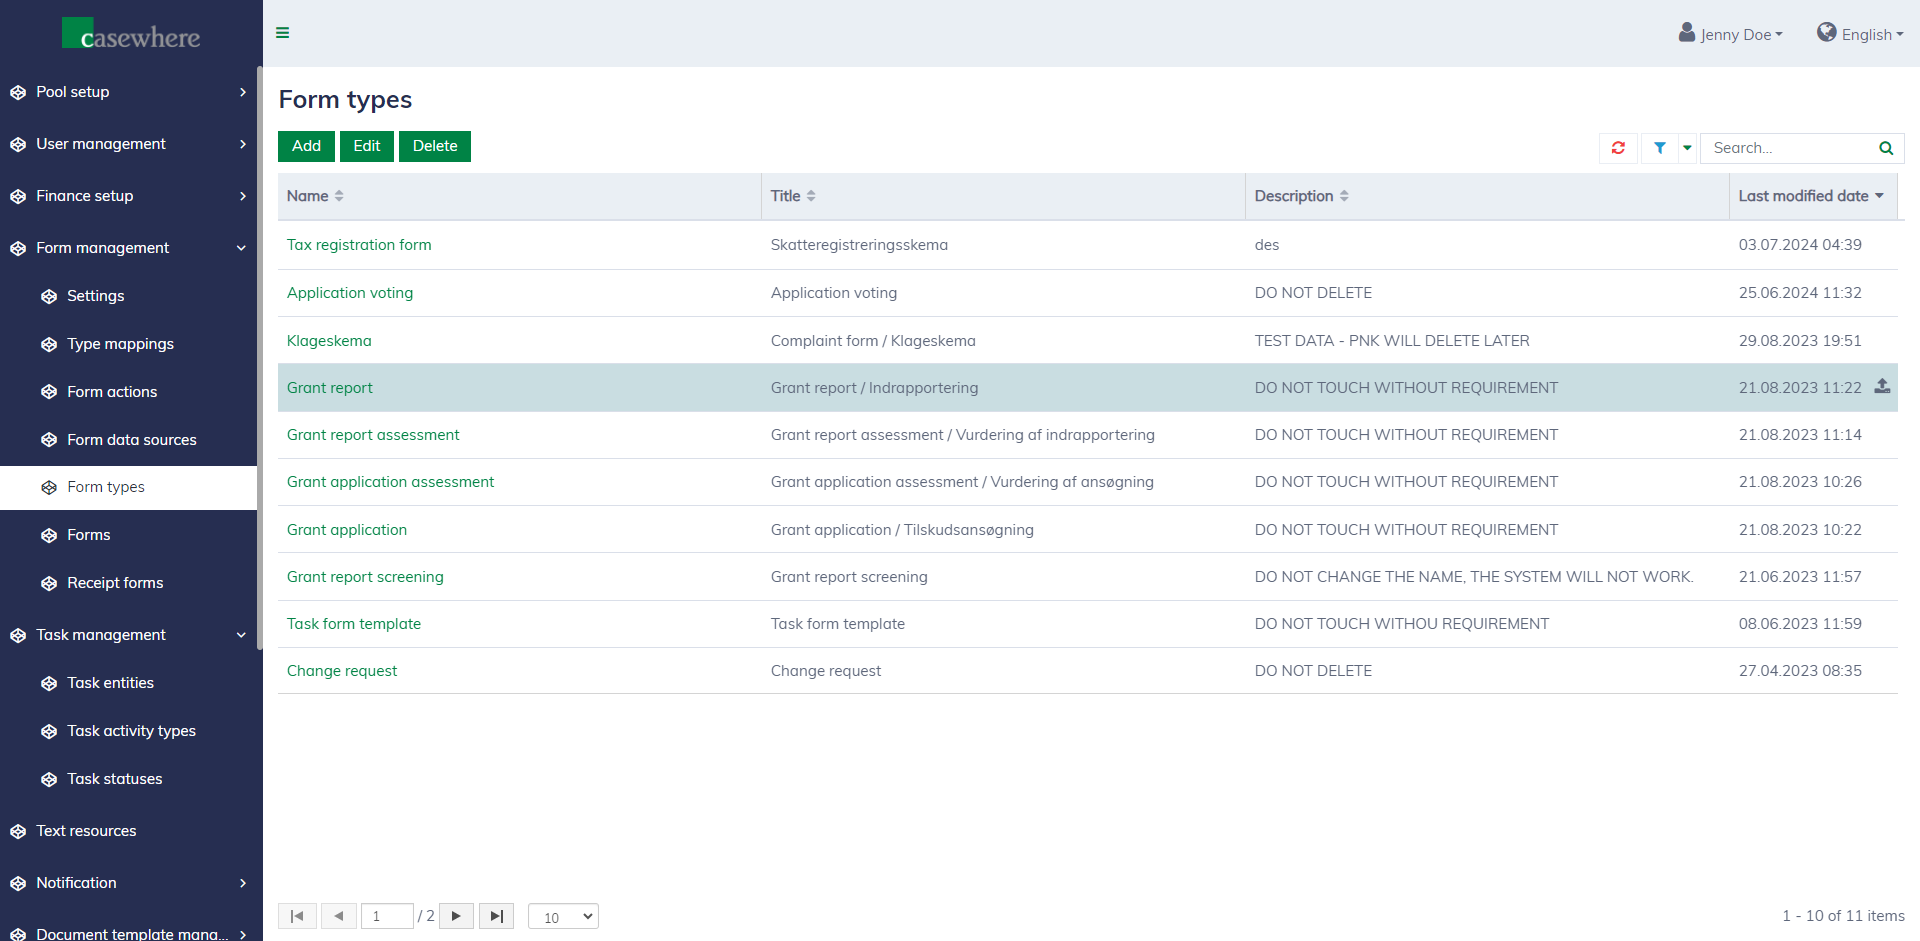
Below are the typical form types:
| Form name | Description |
|---|---|
| Grant application | The form that applicants need to complete and submit in order to apply for a grant. |
| Grant application assessment | The form that caseworkers need to complete to assess an application's eligibility for the next approval step. |
| Application voting | The form that caseworkers need to complete in order to vote on an application before the final decision can be made. |
| Grant report | The forms that applicants use to report the progress of their projects and how money is spent. |
| Grant report assessment | The forms that caseworkers need to complete to assess a report. |
| Grant report screening | The forms that caseworkers need to complete to screen a report. |
| Custom field | The forms for inputting additional information for application, pool scheme, pool, etc. |
| Task form template | The forms for different user-defined tasks. |
Form data sources
Navigate to "Form management / Form data sources" to discover all data entities that can be used to design form templates.
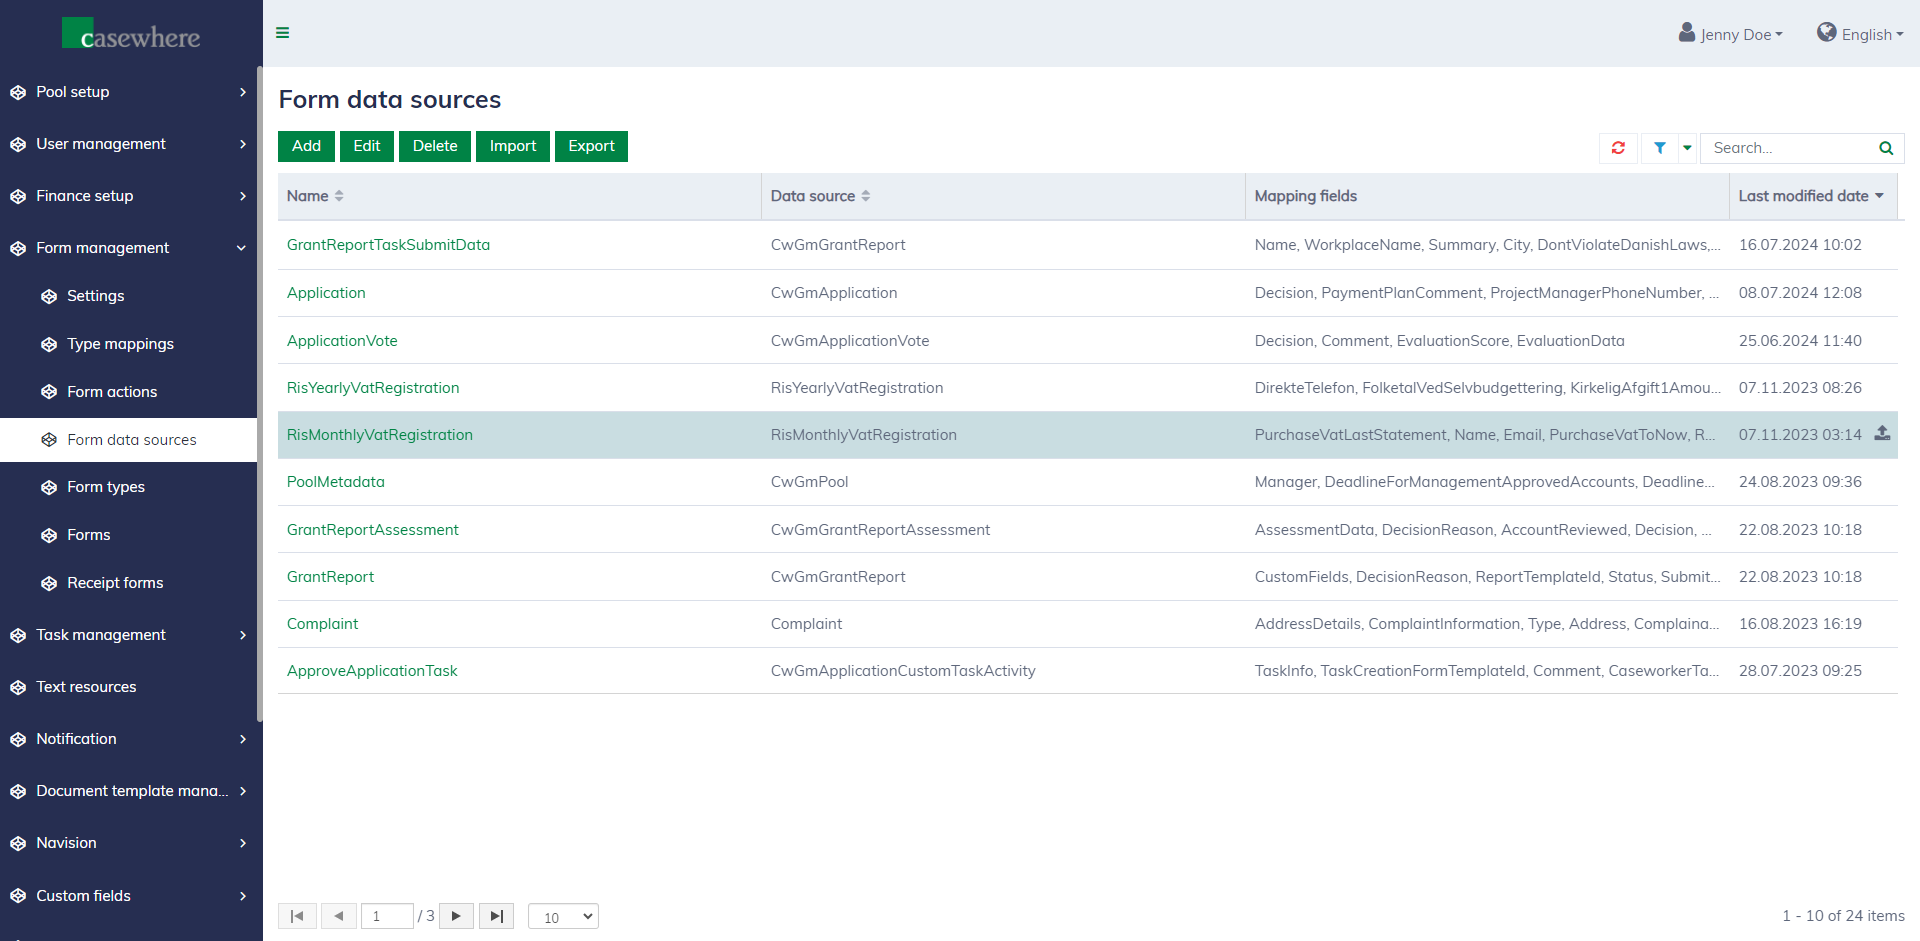
Below are the typical form data sources:
| Data source | Description |
|---|---|
| Application | Represents the application object that holds information submitted by the grant applicants. |
| Application Vote | Represents the application vote object that contains information submitted by caseworkers when they vote for an application. |
| Application Assessment | Represents the application assessment object that contains information submitted by caseworkers when they assess an application. |
| Grant Report | Represents the report object containing information submitted by applicants to report the progress of their projects. |
| Grant Report Assessment | Represents the report assessment object that contains information submitted by caseworkers when they assess a report. |
| Grant Report Screening | Represents the report screening object that contains information submitted by caseworkers when they screen a report. |
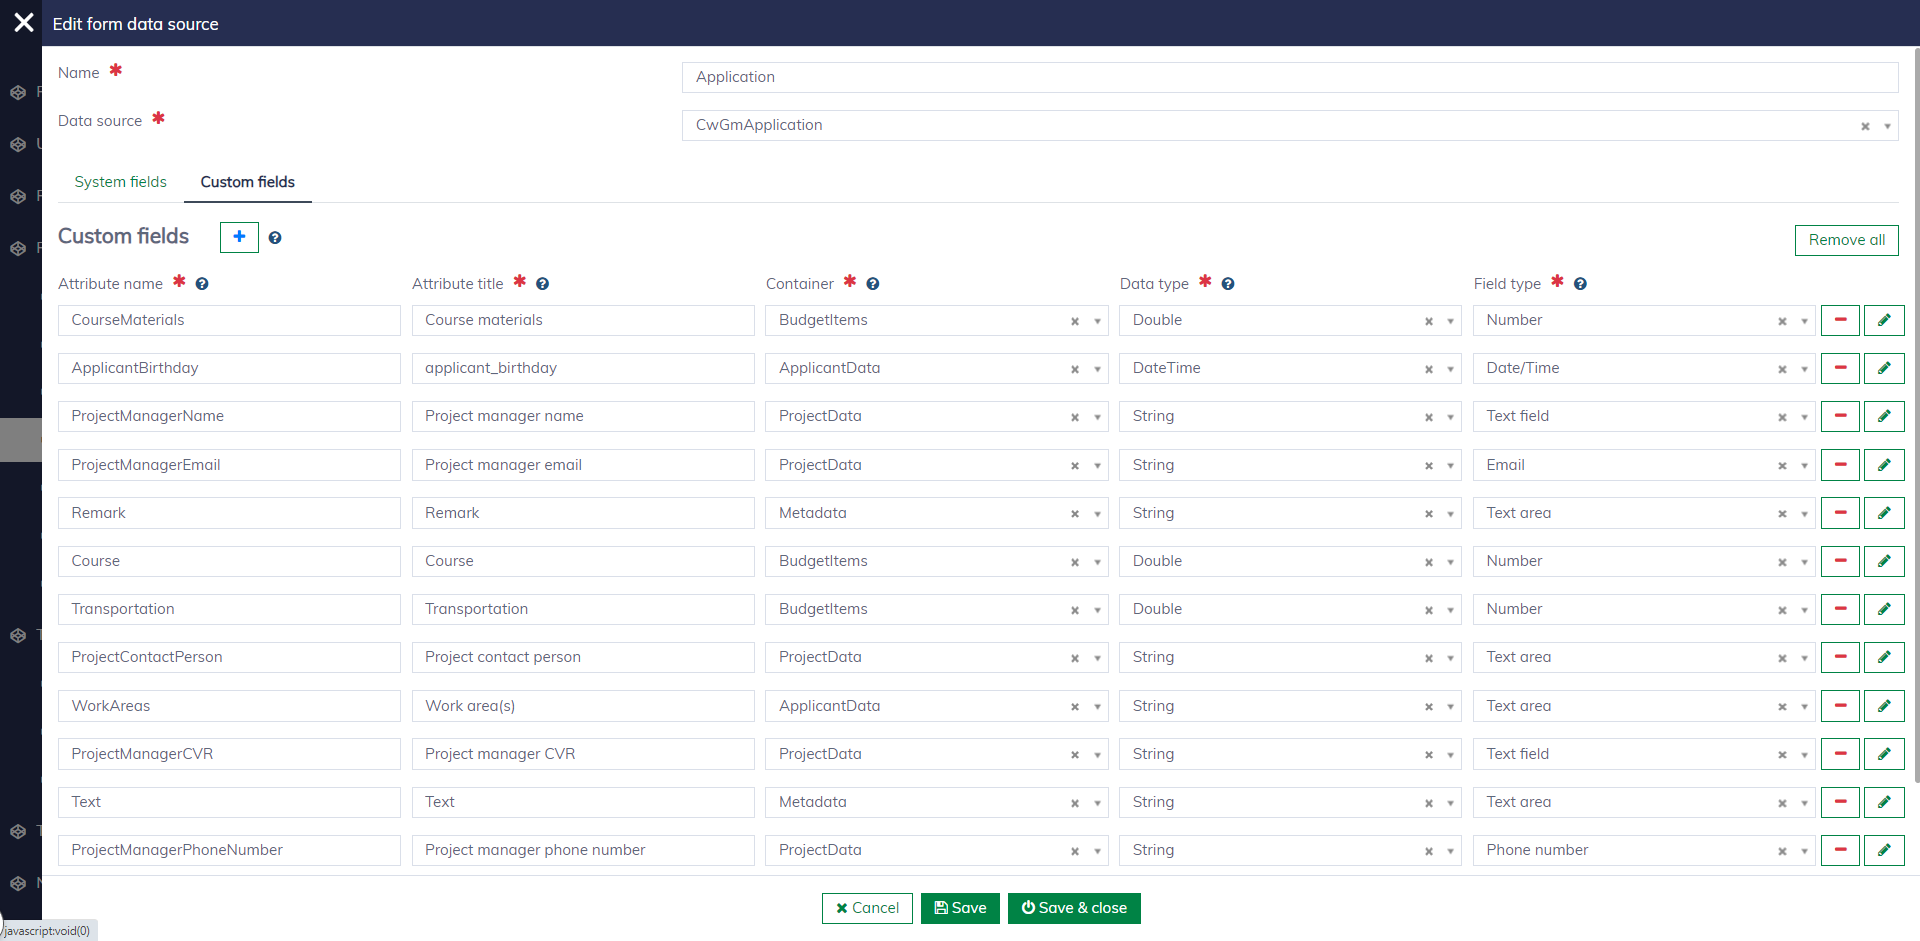
You can customize the built-in data sources to meet your specific business needs. In the data source editor, navigate to the "Custom fields" tab, then freely add the needed custom fields. Learn more about working with data sources here.
Forms
Navigate to "Form management / Forms" to set up and manage forms for your solution.
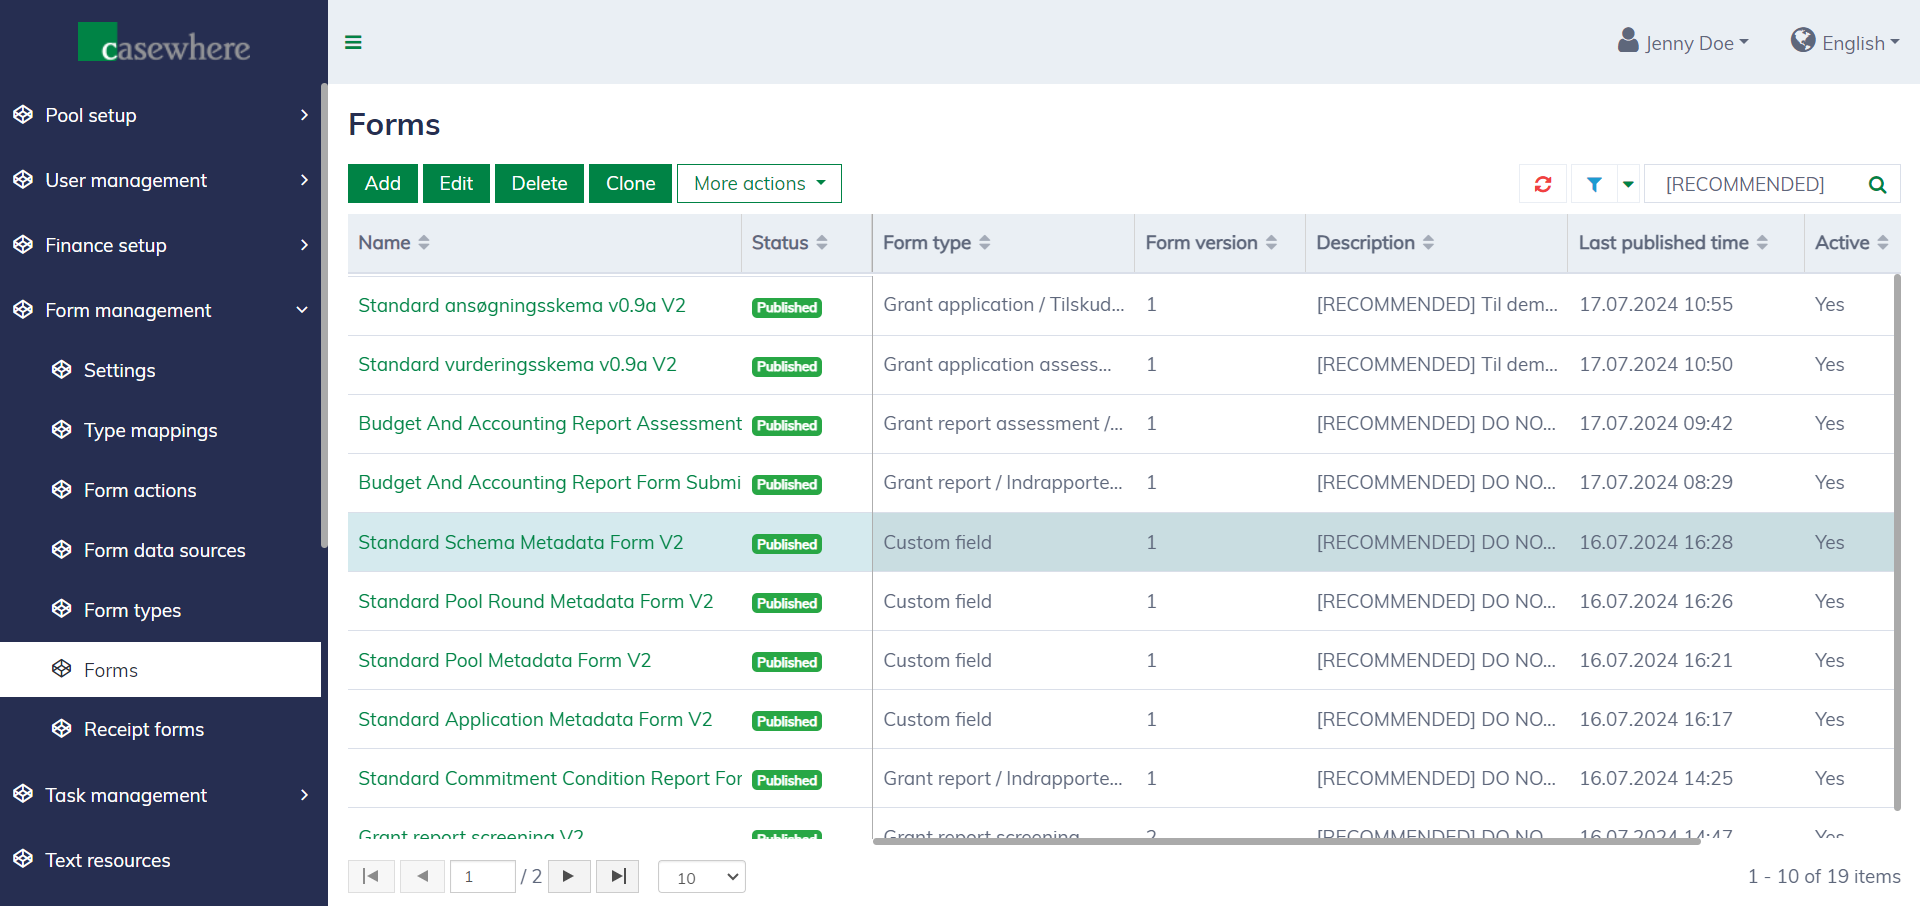
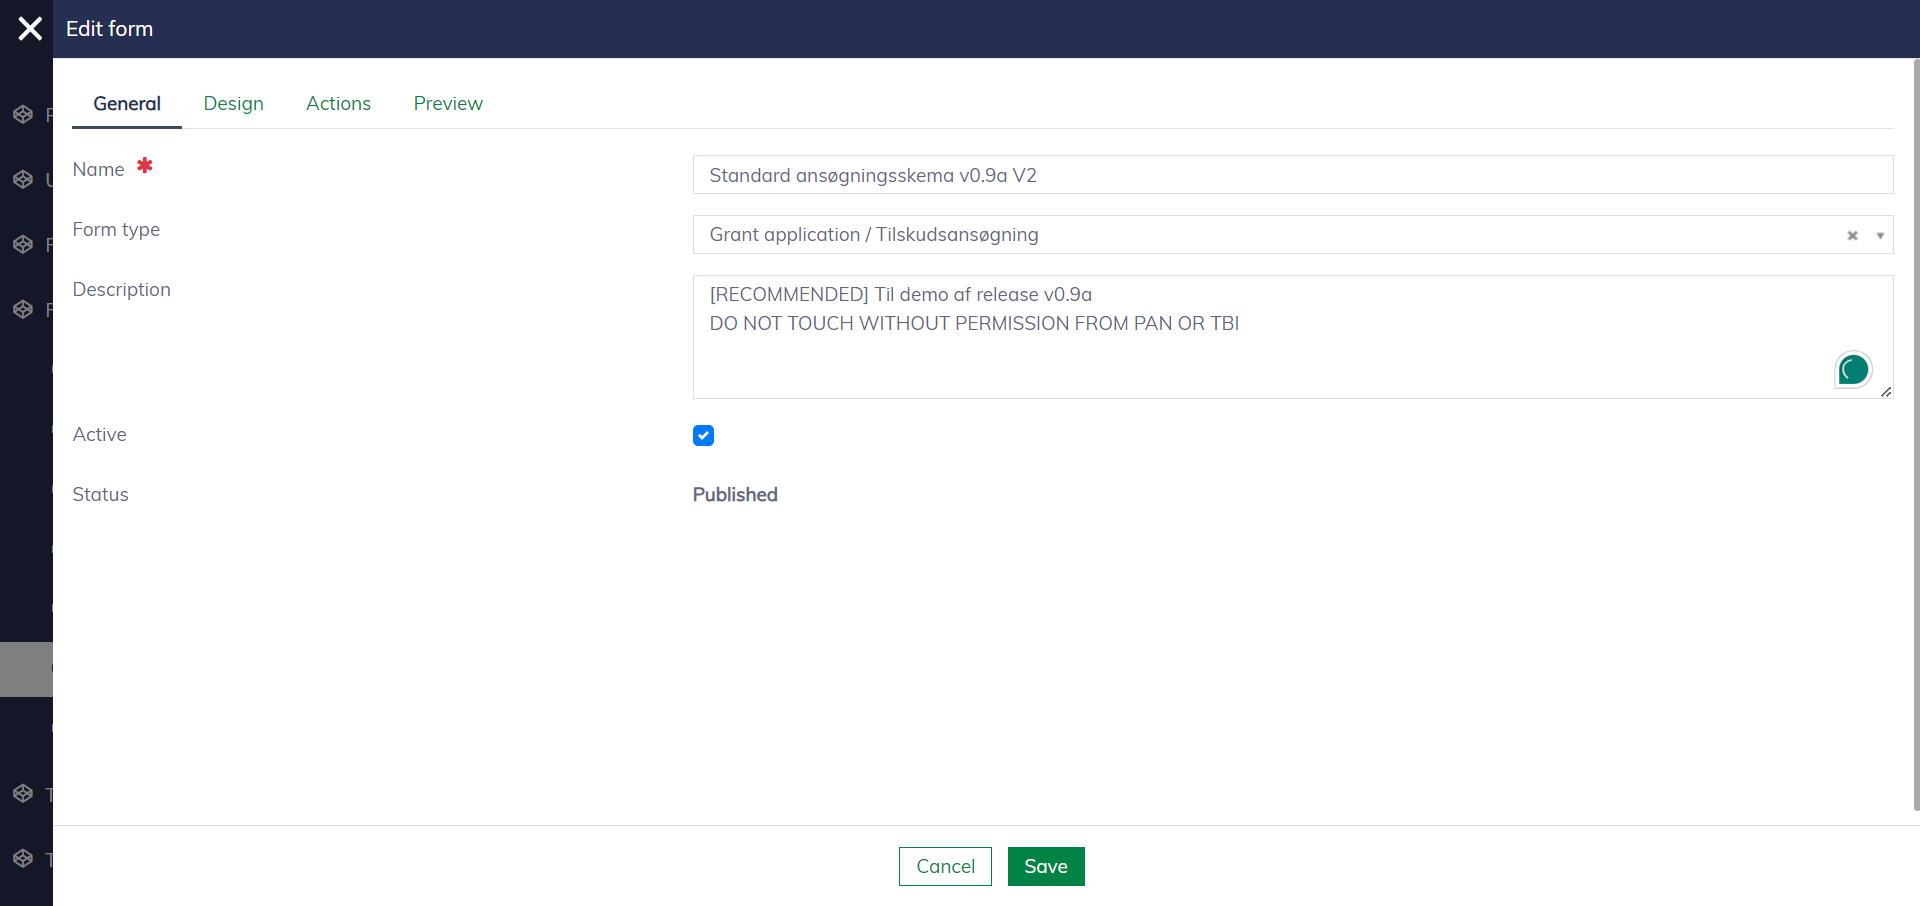
The form editor appears as follows. The form name and type should match the form's purpose. Only "Published" forms are accessible to end users.
Publishing a form requires the following typical steps:
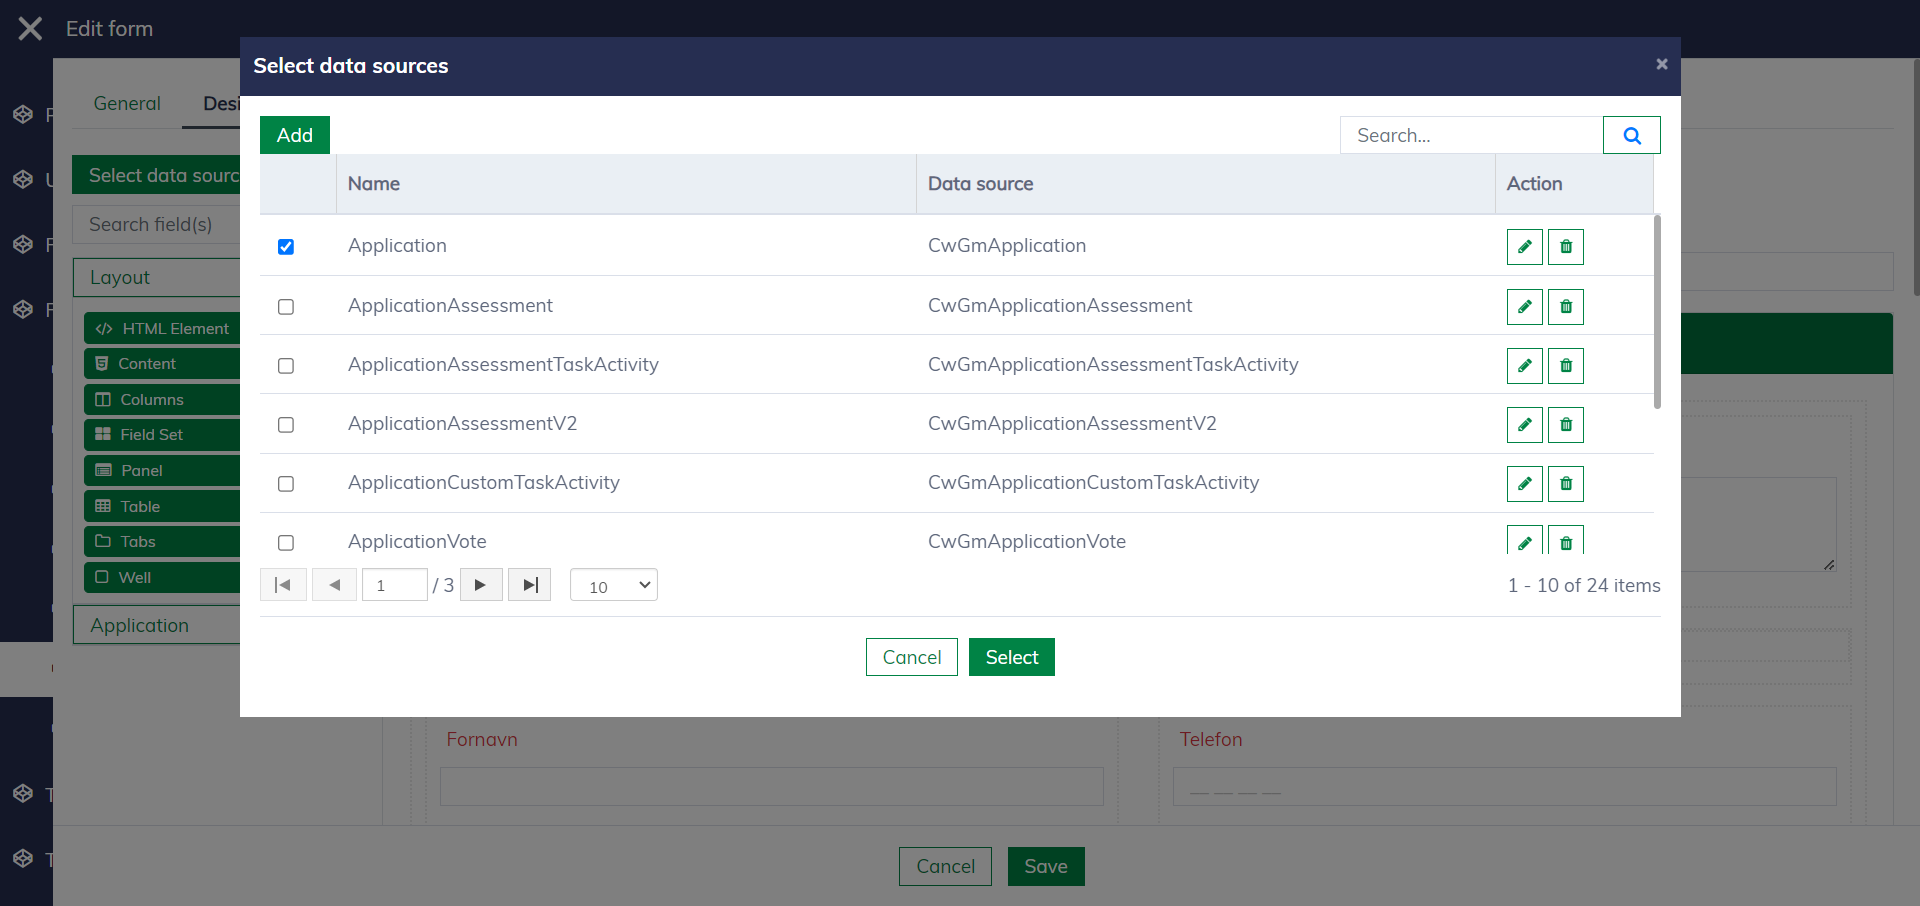
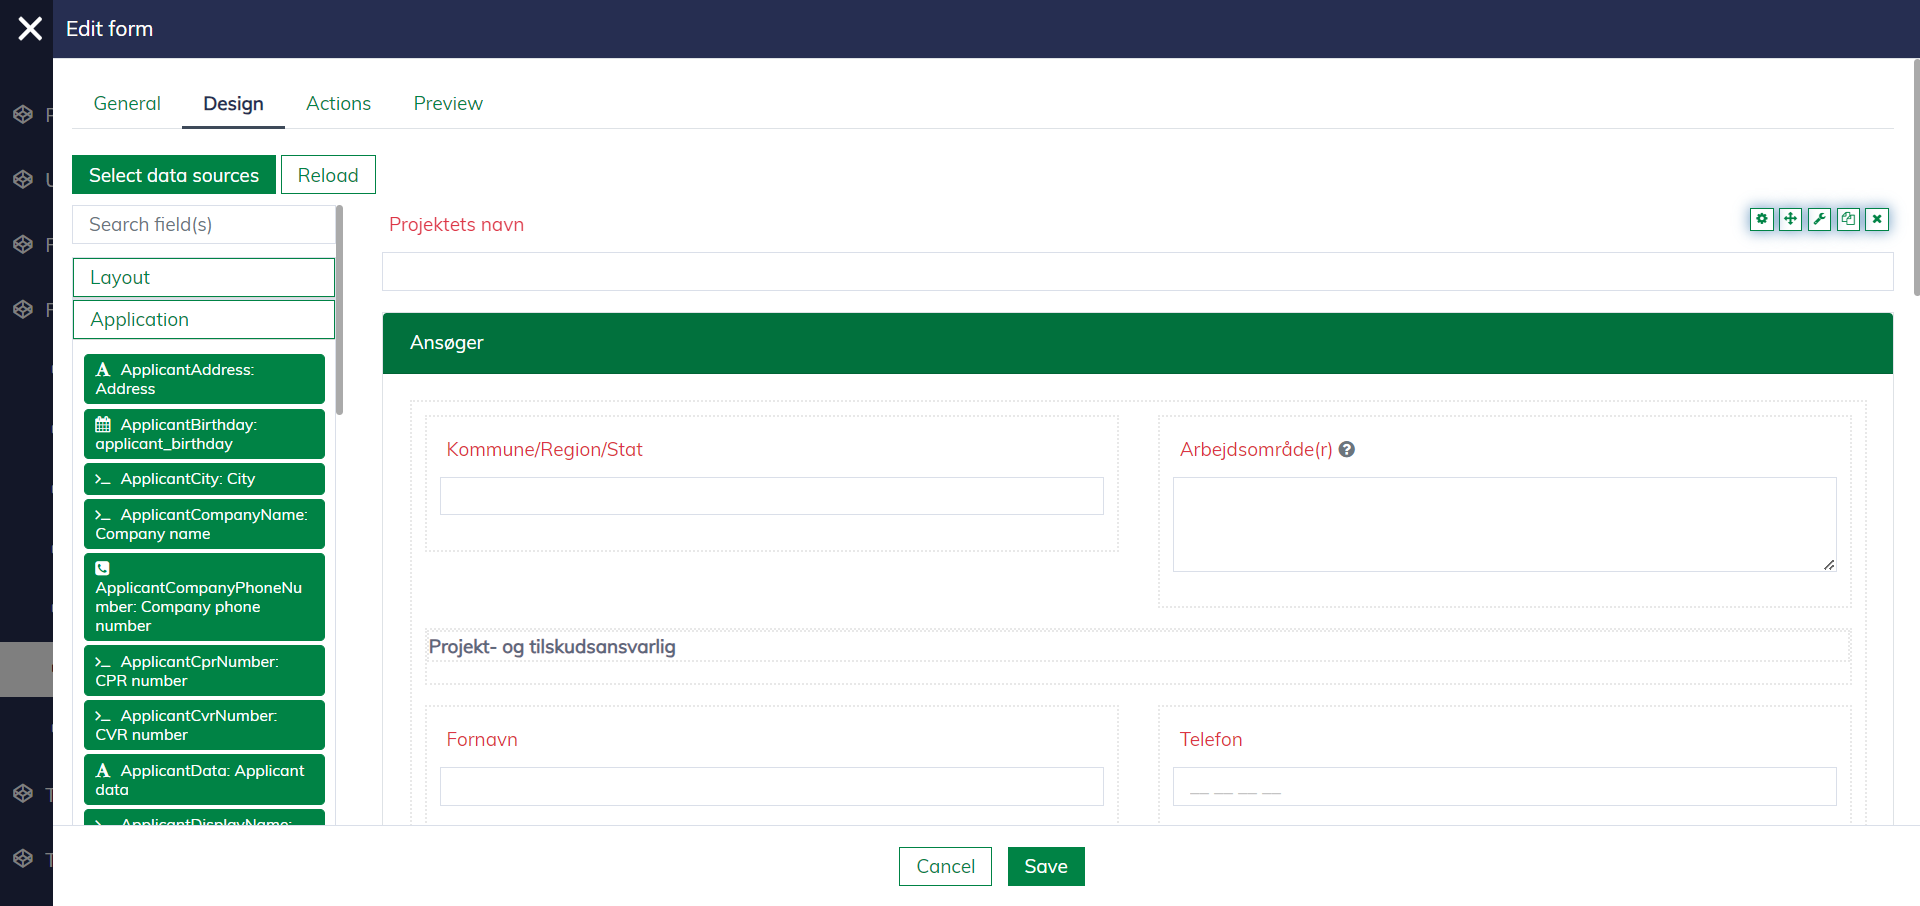
Step 1: Navigate to the "Design" tab and select the data sources.
Step 2: Drag and drop the fields into the form and organize them in the desired structure.
Step 3: Customize the form fields
Select a form field and click the settings icon  . The form field editor will appear, enabling you to configure many things, such as "Display", "Validation", and other advanced form settings, such as "Conditional", and "Logic".
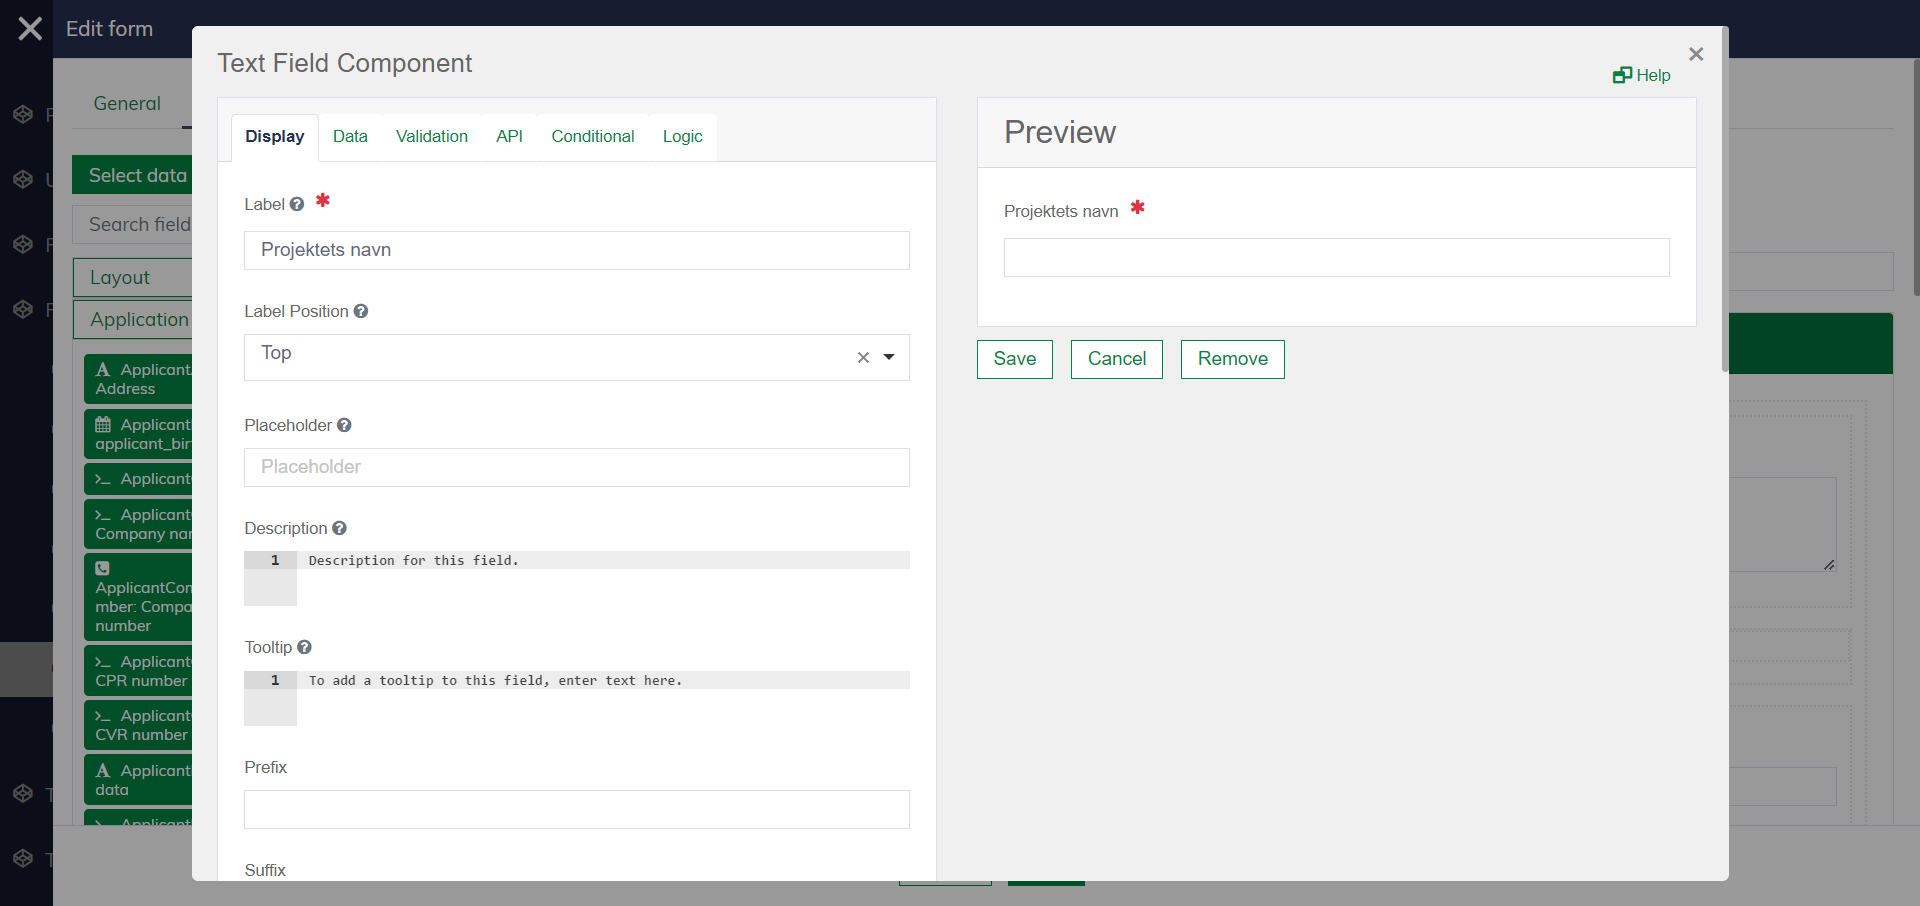
More details for the form field settings:
| Setting | Description |
|---|---|
| Display | Configure field labels, tooltips, display positions, styles, etc. |
| Data | Advanced settings - Configure the data format for persistence when it is sent to the server. |
| Validation | Configure validation rules such as field mandatory, field length, etc. |
| API | Advanced settings - Configure the data convention. |
| Conditional | Advanced settings to control the field behaviors (show/hide/enable/disable) under different conditions. |
| Logic | Advanced settings to control the field values under different conditions. |
Step 4: Configure the form actions
Navigate to the "Actions" tab to configure the buttons on the form.
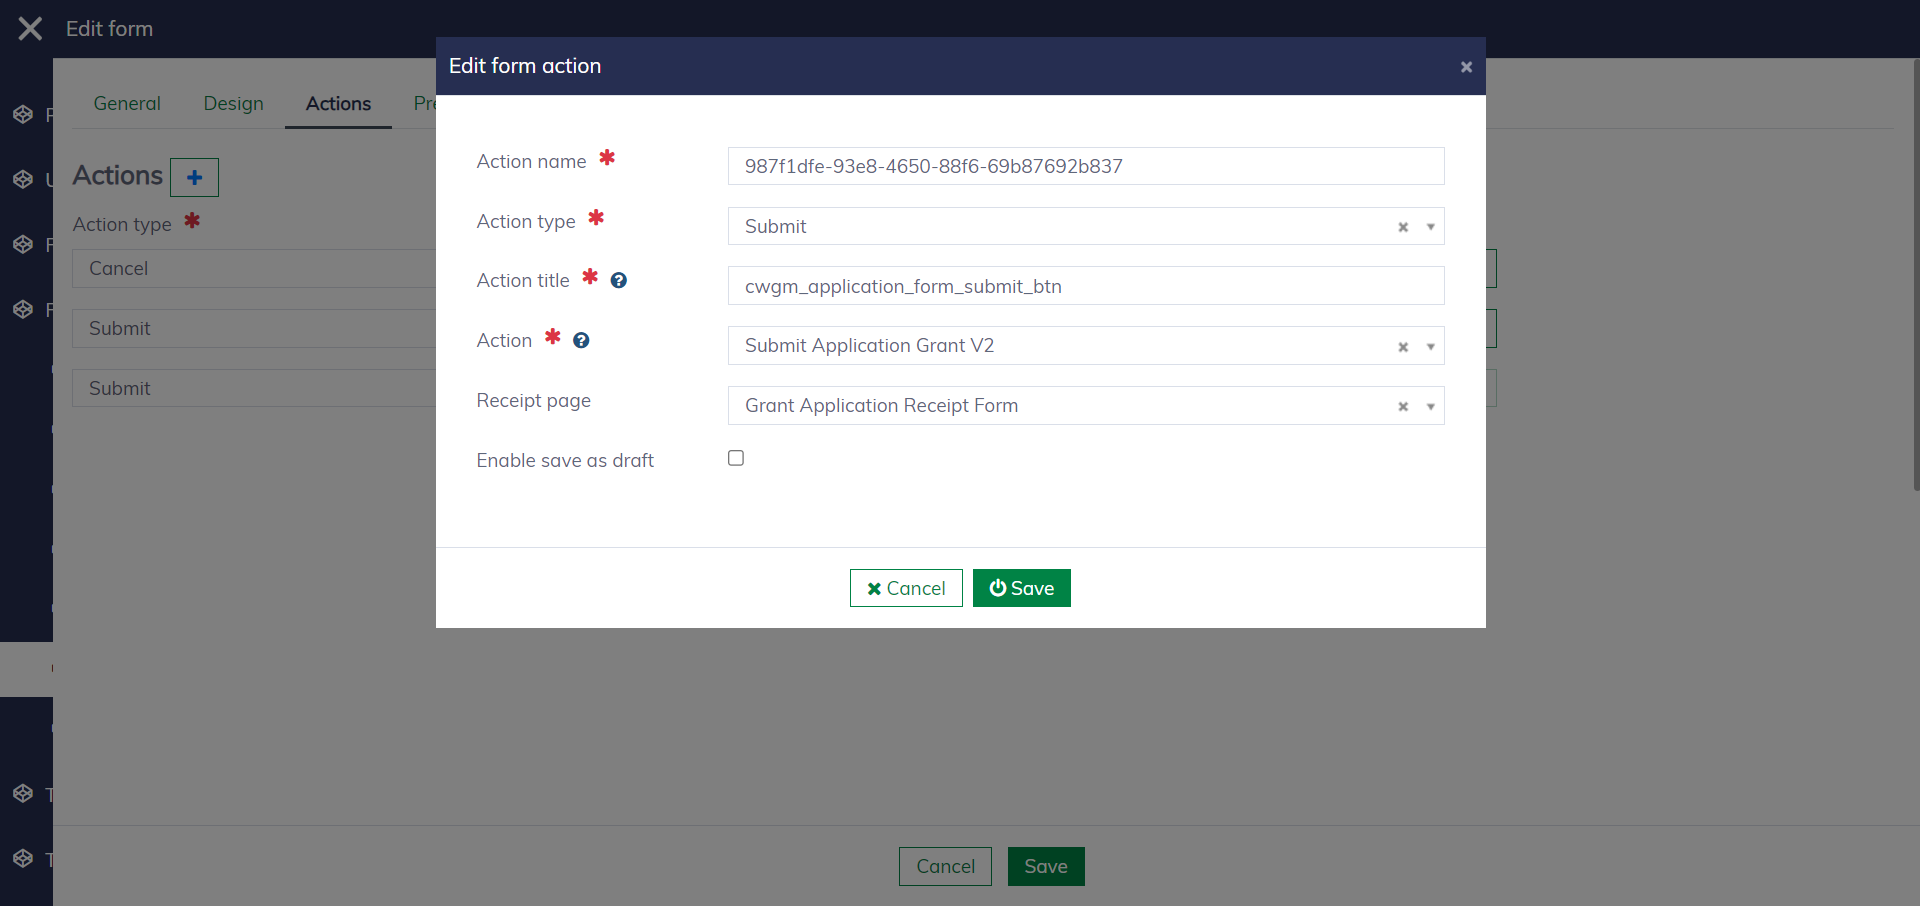
An action has the following fields:
| Field name | Mandatory | Description |
|---|---|---|
| Action name | Yes | A unique string to identify the action. |
| Action type | Yes | Two options: "Cancel" and "Submit". |
| Action title | Yes | To configure the button label. |
| Action | Yes | The API action stores data and handles other form-submission logic. You should choose the appropriate one from a system-defined list for your use case. |
| Receipt page | No | If configured, the system will direct the end users to this page after the form is submitted successfully. |
| Enable save as draft | No | If configured, the submit button will ignore form validation and always accept the data. A typical setup might have three buttons: "Cancel", "Save draft", and "Submit". |
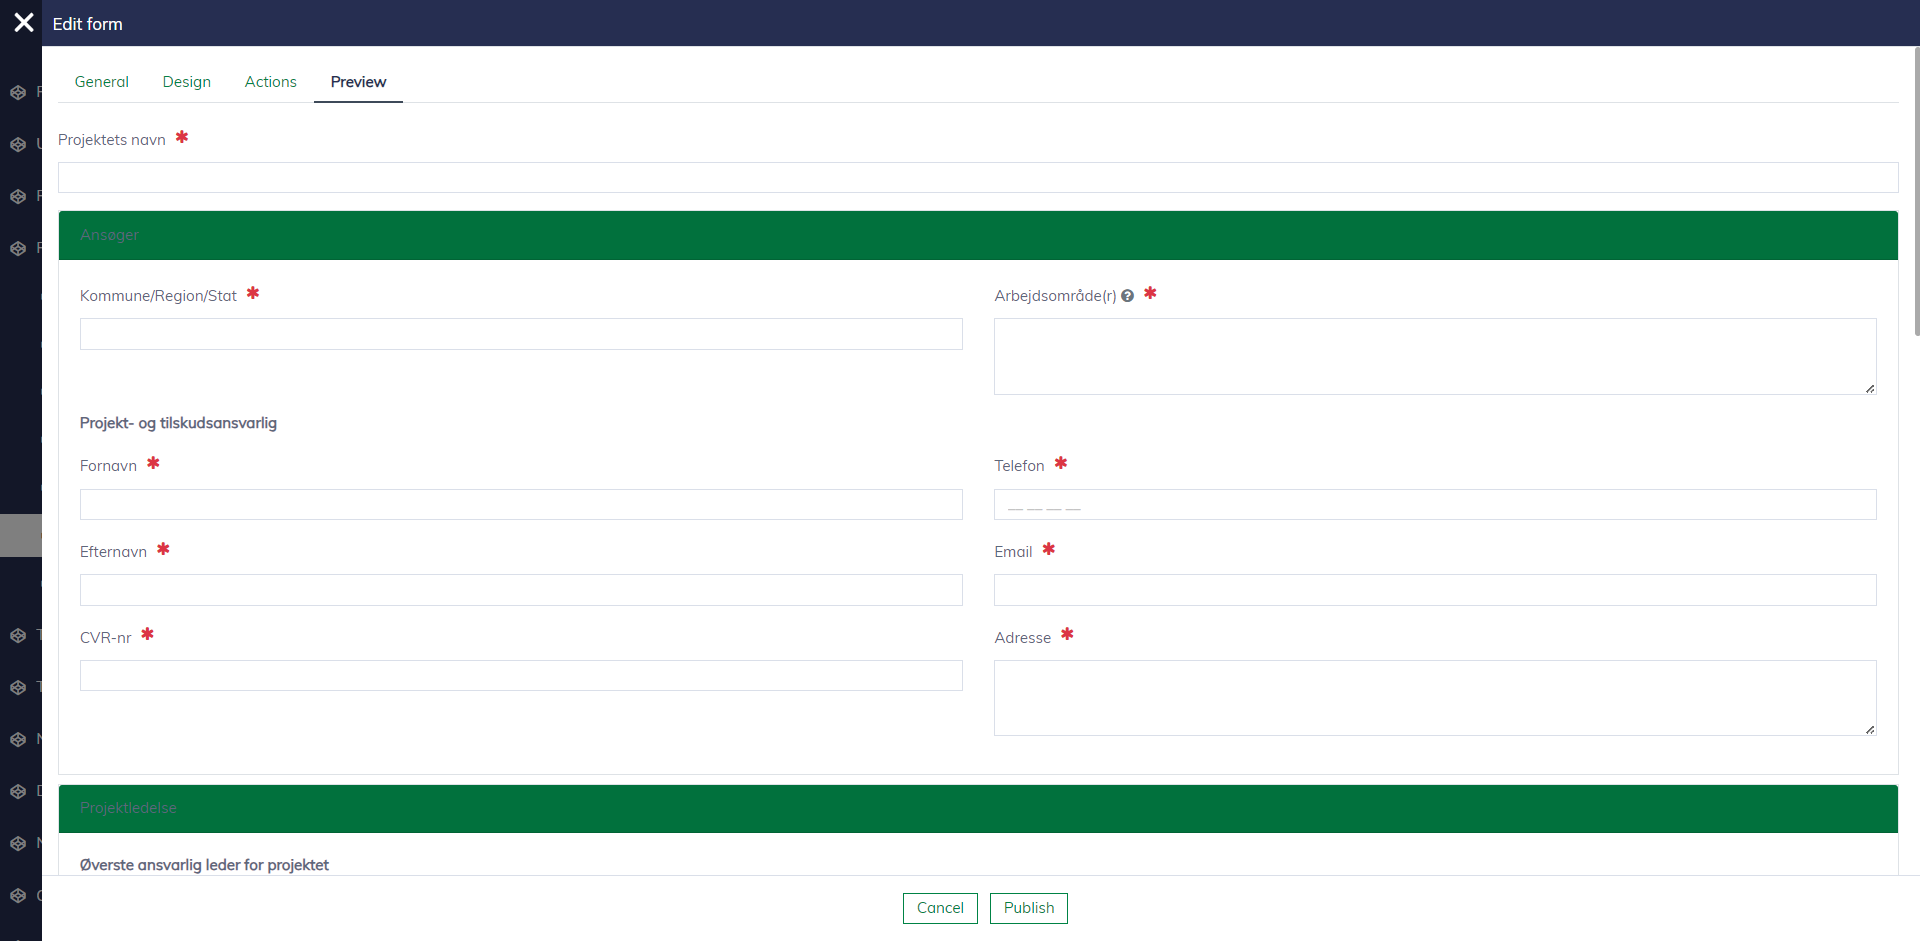
Step 5: Preview and publish
After reviewing the form and verifying that it is working as expected, you can click "Publish" to make it accessible for your end users. Please note that when you make a change, you also need to publish the form again.
Receipt forms
Navigate to "Form management / Receipt forms" to set up the receipt forms for your solutions. Similar to forms, but a receipt form will be rendered in read-only mode and thus does not have form actions.

Advanced settings
The following advanced settings are for developers and power users to manage the deployment of the form solution.
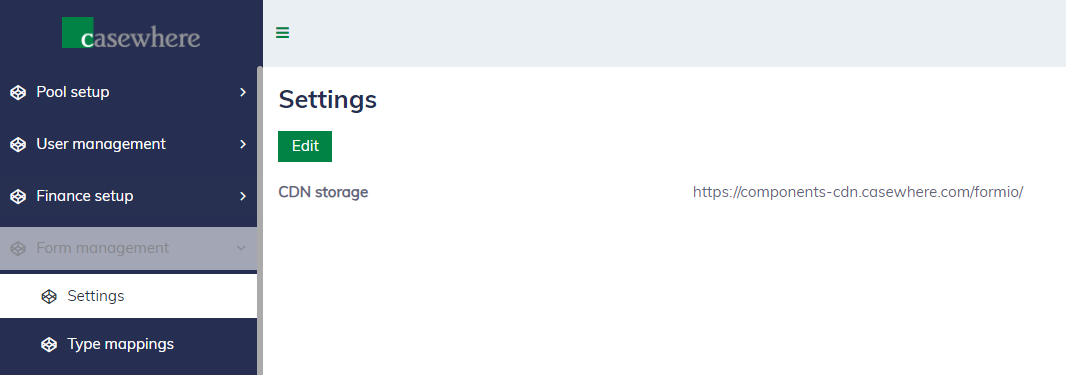
Settings
Navigate to "Form management / Settings" to configure the form deployment, i.e., the CDN where the source code is deployed.
Type mappings
Navigate to "Form management / Type mappings" to configure the default mapping between data types and form fields. Here, we can define, for example, using the radio button instead of the checkbox for "Boolean".
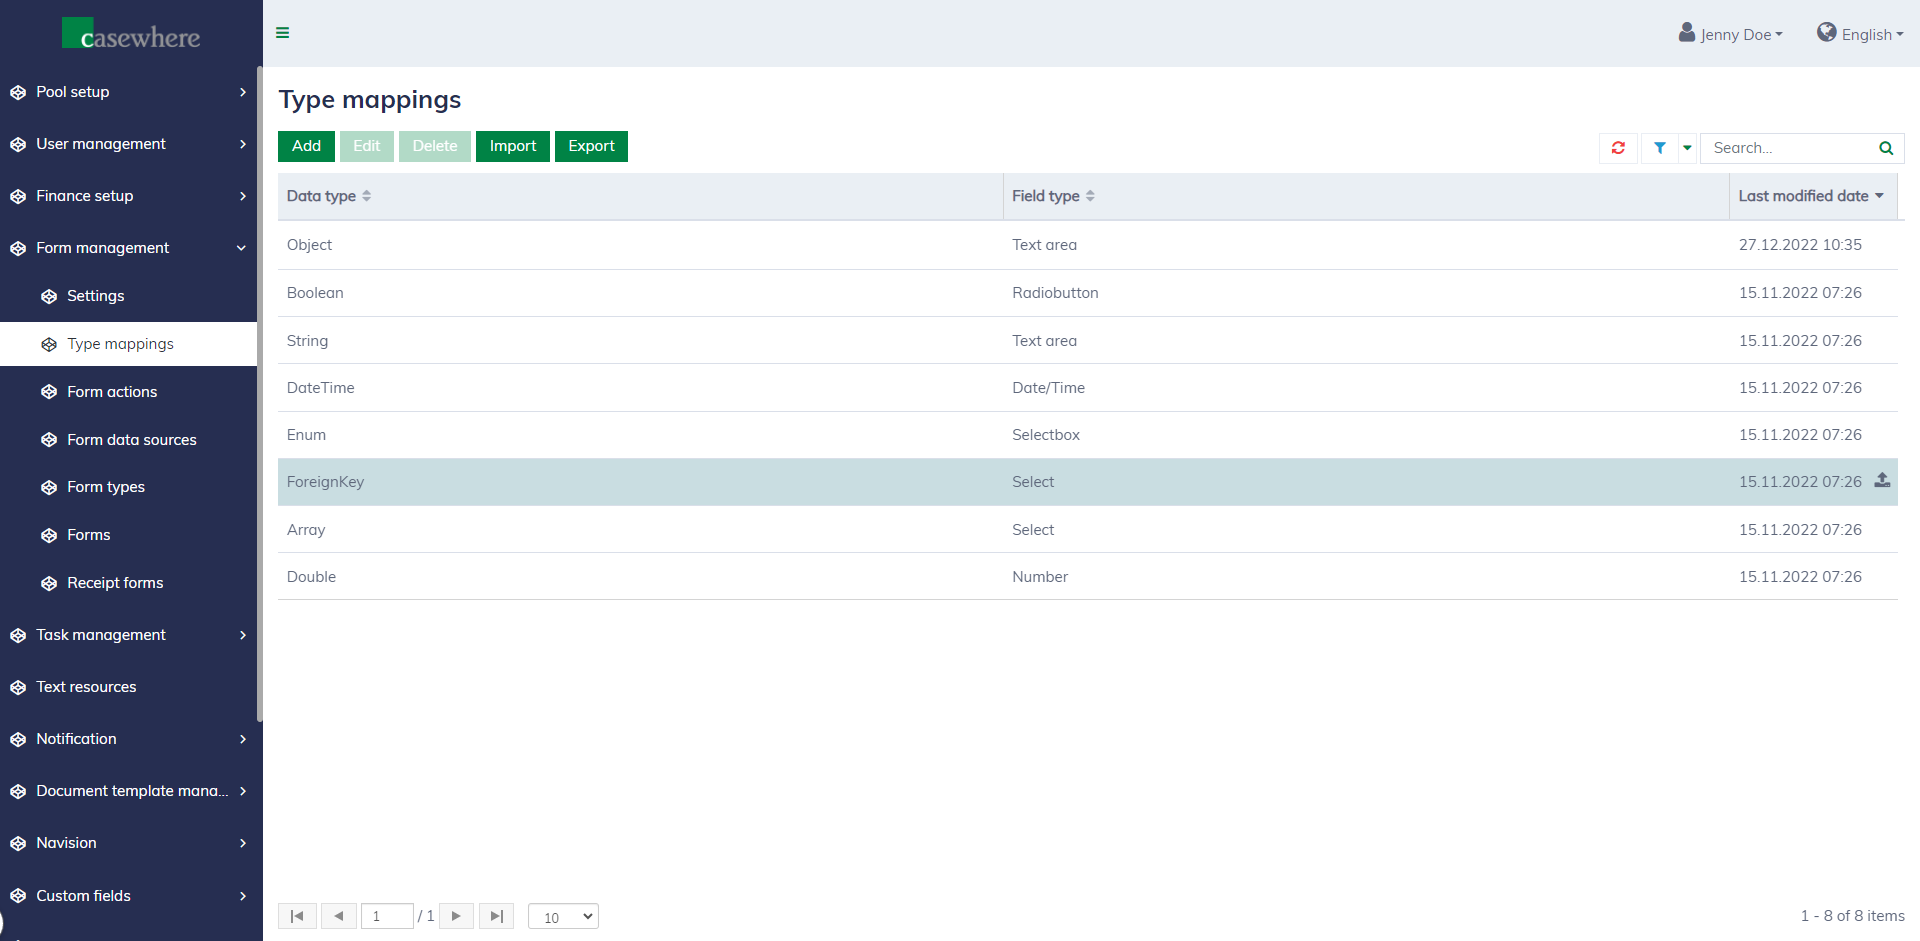
You can always override the default mapping when customizing your data sources for your specific use cases.
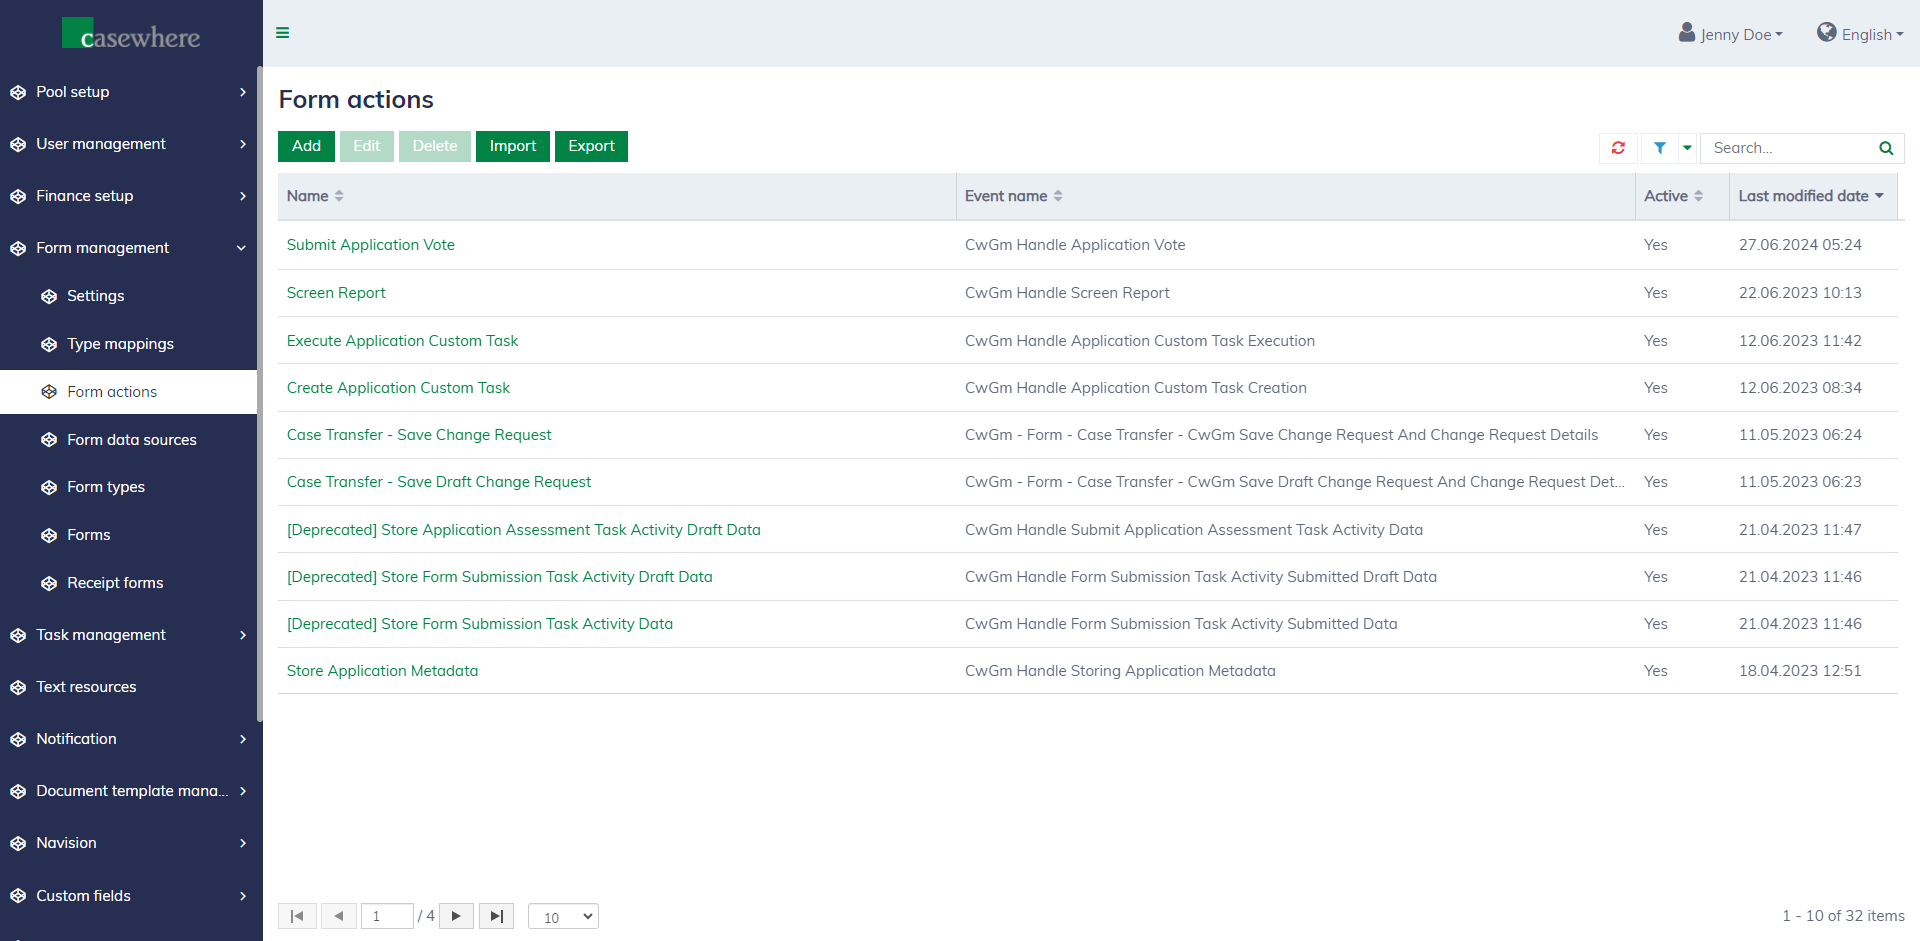
Form actions
A list of all form actions available for use can be found at "Form management / Form actions".